簡介
在codepen上看到一個Canvas做的下雨效果動畫��,感覺蠻有意思的。就研究了下�����,這里來分享下�����,實現(xiàn)技巧����。
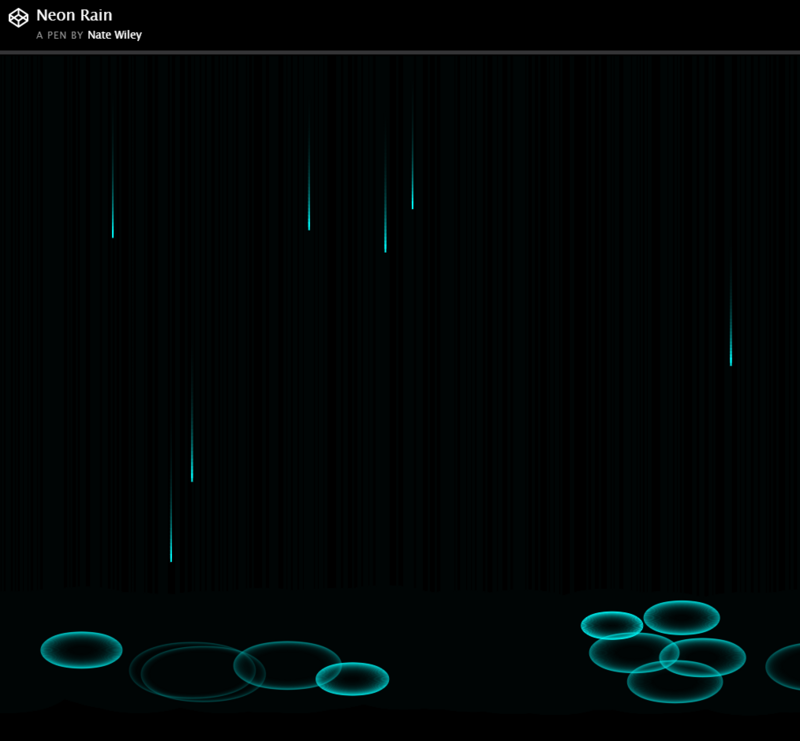
效果截圖:
Canvas動畫基礎(chǔ)
大家都知道,Canvas其實只是一個畫板�。我們可以應(yīng)用canvas的api在上面繪制各種圖形。
Canvas 2D 的API:https://developer.mozilla.org/en-US/docs/Web/API/CanvasRenderingContext2D
那么Canvas繪制動畫的步驟就是:
- 繪制第一幀圖形(利用API繪圖)
- 清空畫板(應(yīng)用clearRect()或fillRect())
- 繪制下一幀動畫
用什么來控制動畫每一幀的繪制時間呢���?大家很容易想到 window.setInterval()和window.setTimeout()����。沒錯用這兩個也可以��。除此之外���,后來又出現(xiàn)一個新的方法:window.requestAnimationFrame(callback)�。
requestAnimationFrame會告訴瀏覽器你要繪制一個動畫。讓瀏覽器要重繪時調(diào)用你指定的方法(callback)來繪制你的動畫��。
使用方法如下:
function anim() {
    ctx.fillStyle = clearColor;
    ctx.fillRect(0,0,w,h);
    for(var i in drops){
        drops[i].draw();
    }
    requestAnimationFrame(anim);
}
一般情況下優(yōu)先使用requestAnimationFrame能保持動畫繪制的頻率和瀏覽器重繪的頻率一致���。不幸的是requestAnimationFrame的兼容性還不是很好��。IE9以下和addroid 4.3以下好像不支持這個屬性����。不支持的瀏覽器要用setInterval或setTimeout做兼容��。
雨滴下落效果
首先來講講雨滴下落的效果如何制作����。雨滴其實是一個長方形,然后加殘影���。殘影的繪制可以說是雨滴下落的關(guān)鍵���。殘影是通過在前進的方向每一幀都繪制一個半透明的背景和一個長方形,然后前面繪制的圖形疊加產(chǎn)生的效果。由于前進方向的圖形最后繪制��,所以顯得明亮,后面的圖形疊加的比較多����,所以視覺上減弱�。整體看起來后面的就像殘影。這里繪制具有透明度背景是關(guān)鍵,否則產(chǎn)生不了疊加效果�����。
那么來繪制個雨滴看看��。首先準備一個畫板:
html代碼:
<!DOCTYPE html>
<html lang="en">
<head>
    <meta charset="UTF-8">
    <title>霓虹雨</title>
    <meta name="viewport" content="width=device-width,initial-scale=1.0">
    <style type="text/css">
        .bg {
            background: #000;
            overflow: hidden;
        }
    </style>

</head>
<body class="bg">
<canvas id="canvas-club"></canvas>
<script type="text/javascript" src="raindrop.js"></script>
</body>
</html>
我在js文件里繪制動畫(raindrop.js)�����,代碼如下:
var c = document.getElementById("canvas-club");
var ctx = c.getContext("2d");//獲取canvas上下文
var w = c.width = window.innerWidth;
var h = c.height = window.innerHeight;//設(shè)置canvas寬���、高
var clearColor = 'rgba(0, 0, 0, .1)';//畫板背景,注意最后的透明度0.1 這是產(chǎn)生疊加效果的基礎(chǔ)
function random(min, max) {
return Math.random() * (max - min) + min;
}
function RainDrop(){}
//雨滴對象 這是繪制雨滴動畫的關(guān)鍵
RainDrop.prototype = {
init:function(){
this.x = random(0, w);//雨滴的位置x
this.y = 0;//雨滴的位置y
this.color = 'hsl(180, 100%, 50%)';//雨滴顏色 長方形的填充色
this.vy = random(4, 5);//雨滴下落速度
this.hit = random(h * .8, h * .9);//下落的最大值
this.size = 2;//長方形寬度
},
draw:function(){
if (this.y < this.hit) {
ctx.fillStyle = this.color;
ctx.fillRect(this.x, this.y, this.size, this.size * 5);//繪制長方形���,通過多次疊加長方形,形成雨滴下落效果
}
this.update();//更新位置
},
update:function(){
if(this.y < this.hit){
this.y += this.vy;//未達到底部��,增加雨滴y坐標
}else{
this.init();
}
}
};
function resize(){
w = c.width = window.innerWidth;
h = c.height = window.innerHeight;
}
//初始化一個雨滴
var r = new RainDrop();
r.init();
function anim() {
ctx.fillStyle = clearColor;//每一幀都填充背景色
ctx.fillRect(0,0,w,h);//填充背景色���,注意不要用clearRect����,否則會清空前面的雨滴,導(dǎo)致不能產(chǎn)生疊加的效果
r.draw();//繪制雨滴
requestAnimationFrame(anim);//控制動畫幀
}
window.addEventListener("resize", resize);
//啟動動畫
anim();
漣漪效果
接著來繪制漣漪效果�����。與繪制雨滴的方式類似,也是通過具有透明度的背景來疊加前面的圖像產(chǎn)生內(nèi)陰影的效果����。
代碼如下(rippling.js):
var c = document.getElementById("canvas-club");
var ctx = c.getContext("2d");//獲取canvas上下文
var w = c.width = window.innerWidth;
var h = c.height = window.innerHeight;//設(shè)置canvas寬、高
var clearColor = 'rgba(0, 0, 0, .1)';//畫板背景,注意最后的透明度0.1 這是產(chǎn)生疊加效果的基礎(chǔ)
function random(min, max) {
return Math.random() * (max - min) + min;
}
function Rippling(){}
//漣漪對象 這是漣漪動畫的主要部分
Rippling.prototype = {
init:function(){
this.x = random(0,w);//漣漪x坐標
this.y = random(h * .8, h * .9);//漣漪y坐標
this.w = 2;//橢圓形漣漪寬
this.h = 1;//橢圓漣漪高
this.vw = 3;//寬度增長速度
this.vh = 1;//高度增長速度
this.a = 1;//透明度
this.va = .96;//漣漪消失的漸變速度
},
draw:function(){
ctx.beginPath();
ctx.moveTo(this.x, this.y - this.h / 2);
//繪制右弧線
ctx.bezierCurveTo(
this.x + this.w / 2, this.y - this.h / 2,
this.x + this.w / 2, this.y + this.h / 2,
this.x, this.y + this.h / 2);
//繪制左弧線
ctx.bezierCurveTo(
this.x - this.w / 2, this.y + this.h / 2,
this.x - this.w / 2, this.y - this.h / 2,
this.x, this.y - this.h / 2);
ctx.strokeStyle = 'hsla(180, 100%, 50%, '+this.a+')';
ctx.stroke();
ctx.closePath();
this.update();//更新坐標
},
update:function(){
if(this.a > .03){
this.w += this.vw;//寬度增長
this.h += this.vh;//高度增長
if(this.w > 100){
this.a *= this.va;//當寬度超過100�,漣漪逐漸變淡消失
this.vw *= .98;//寬度增長變緩慢
this.vh *= .98;//高度增長變緩慢
}
} else {
this.init();
}
}
};
function resize(){
w = c.width = window.innerWidth;
h = c.height = window.innerHeight;
}
//初始化一個漣漪
var r = new Rippling();
r.init();
function anim() {
ctx.fillStyle = clearColor;
ctx.fillRect(0,0,w,h);
r.draw();
requestAnimationFrame(anim);
}
window.addEventListener("resize", resize);
//啟動動畫
anim();
總結(jié)
這樣大家對整個下雨效果的制作方法,應(yīng)該有一定的了解了���。Canvas用來繪制動畫的效果確實能讓人眼前一亮����,讓web的視覺效果提升一大截����。發(fā)動自己的智慧,相信能做出更多奇妙的動畫�����。這是我越來越喜歡web的原因之一吧 O(∩_∩)O~~。
以上就是本文的全部內(nèi)容�,希望對大家的學習有所幫助,也希望大家多多支持腳本之家�����。